From empty canvas to printed label, in four steps.
Every Tagestry deployment (local server, cloud, or desktop) follows the same four-step flow. Design it once, connect your data, pick a printer, and let the spooler handle the rest.
01
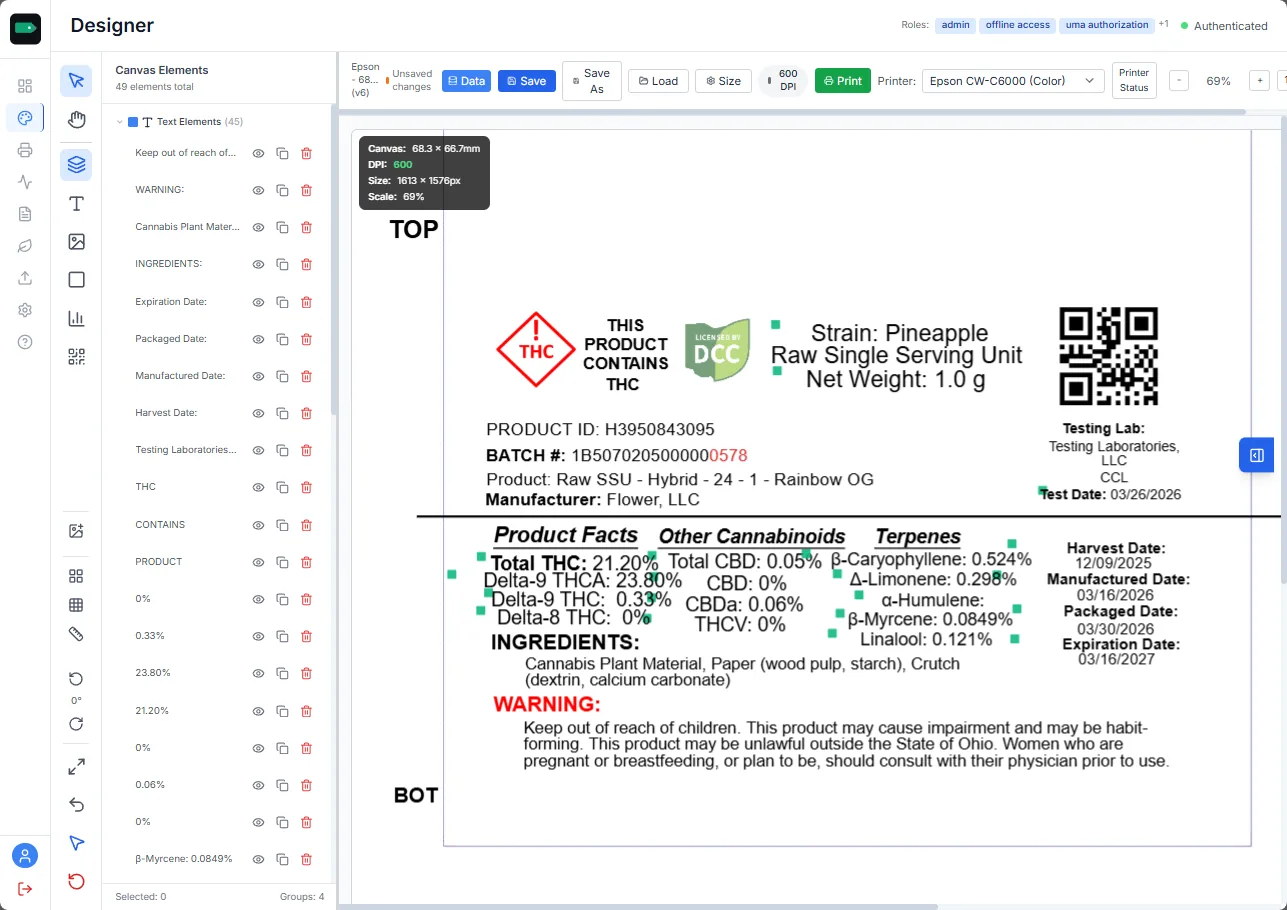
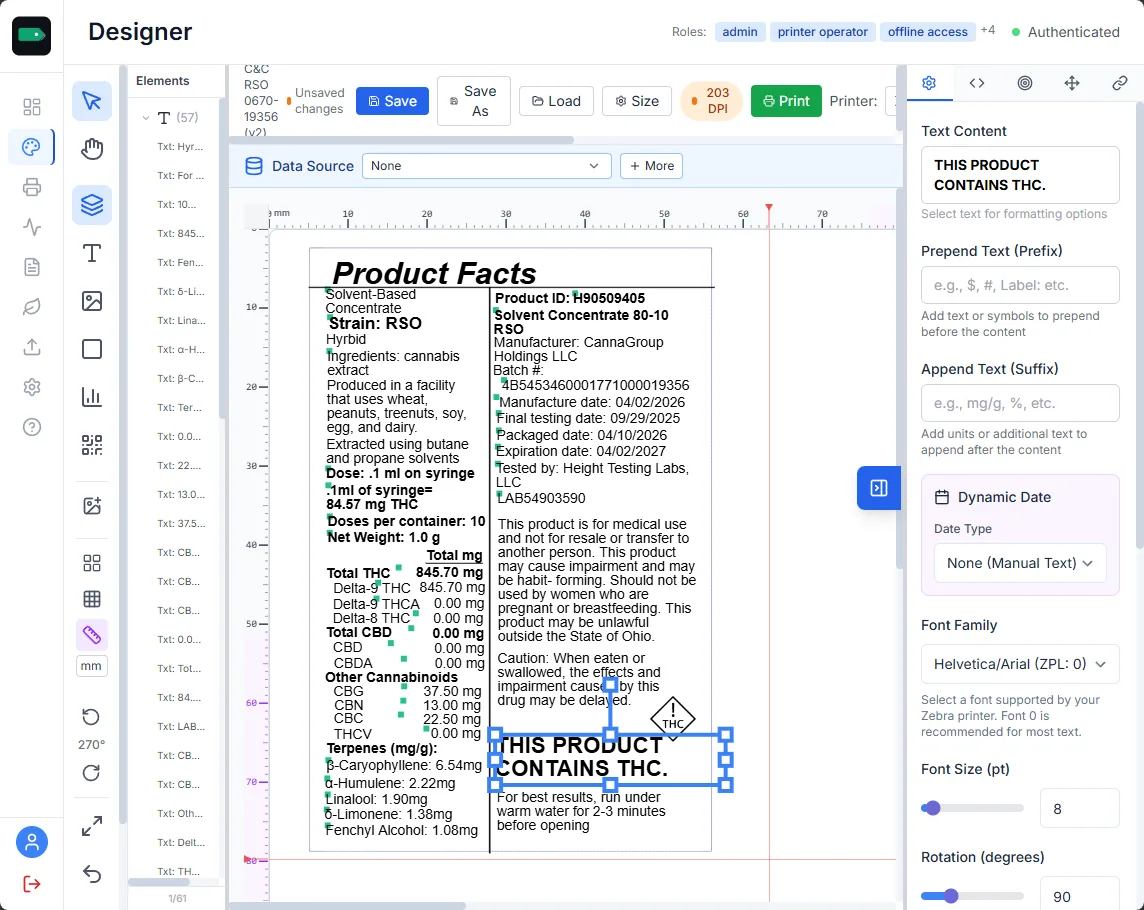
Design the label on the canvas.
Your team lays out the label in Tagestry’s WYSIWYG designer. Text, barcodes, QR codes, images, and shapes are all drag-and-drop, with real-time, printer-accurate preview.
Snap grids and alignment guides
Live preview at printer DPI
Full-color support for Epson ColorWorks
02
Connect your variable data.
Point Tagestry at a CSV, PostgreSQL database, REST API, or METRC facility. Map fields to label elements and transform values inline with regex, date formatting, and counter logic.
CSV, PostgreSQL, REST, manual, METRC
Field-level transforms and prepend/append
Dynamic dates and auto-incrementing counters
03
Configure a printer on your network.
Pick a Zebra, TSC, or Epson ColorWorks printer already on your network. Tagestry speaks ZPL, TSPL, and IPP natively. For edge cases, PrintNode and QZ Tray are one toggle away.
Zebra ZPL, TSC TSPL, Epson ColorWorks IPP
PrintNode cloud relay for remote sites
QZ Tray for local browser-to-printer bridging
ZPL · TSPL · IPP · PrintNode · QZ Tray
Queue · Track · Audit
04
Print at production scale.
Run the job. Tagestry’s spooler queues, prioritizes, and tracks every label through print. Watch progress in real time, pause or retry on failure, and keep the full history for audit.
Priority queuing and pausing
Real-time WebSocket job status
Copy-level progress and full print history
Ready to see Tagestry in action?
Book a 30-minute walkthrough with a Tagestry specialist and see how your team can design, print, and stay compliant at scale.